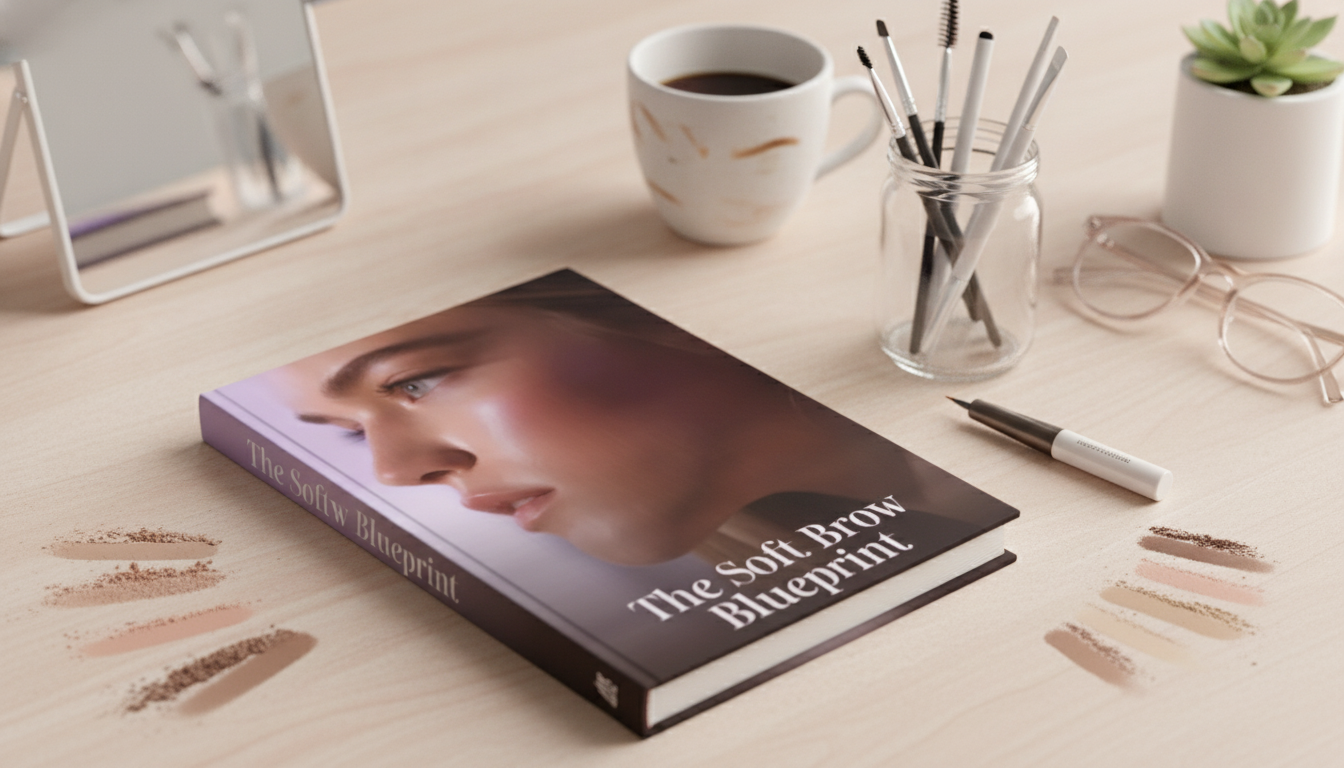
Soft, natural-looking brows come down to a few repeatable steps: mapping lightly, building color in thin layers, and blending until edges look lived-in rather than stamped on. A printable checklist makes the process easier to follow—especially on rushed mornings—by turning brow grooming and makeup into a simple routine that stays consistent from day to day.
Soft brows are defined, but never harsh. They frame the eyes with gentle structure, so small mistakes are easier to blend out—and the finished look suits both minimal makeup days and fuller glam.
If you’re also grooming, keep it conservative: trimming and tweezing too aggressively can create gaps that are harder to mimic naturally. For general grooming guidance, the American Academy of Dermatology Association’s eyebrow grooming tips offer helpful basics on safe shaping and maintenance.
The Soft Brow Blueprint printable checklist is designed to take the guesswork out of brow days—especially when your brows look different from one day to the next.
The “soft brow” effect usually isn’t about buying something new—it’s about changing the order and the pressure. Think: small adjustments, repeated consistently.
| Step | What to Do | Common Mistake to Avoid |
|---|---|---|
| Prep | Spoolie up/out; wipe off excess face makeup on brow hairs | Applying pencil over foundation-coated hairs |
| Map lightly | Mark start/arch/tail with tiny dots | Drawing heavy lines that are hard to soften |
| Fill tail first | Short strokes; keep the tail lifted, not drooping | Over-elongating the tail |
| Add mid-brow | Feather in sparse areas; keep pressure light | Coloring the whole brow like one solid shape |
| Soften the front | Vertical strokes; barely-there pigment | A dark block at the inner brow |
| Blend | Spoolie through until edges look diffused | Skipping blending and relying on concealer cleanup |
| Set | Gel lightly; lift hairs and let dry | Using too much gel and creating crusty texture |
Shade selection is the make-or-break detail for softness. A perfect technique can still read “too bold” if the tone is off.
Soft brows are forgiving by design. When something looks “off,” the best move is usually subtracting or diffusing—not adding more pigment.
If you want a simple skin routine companion to a softer makeup style, pair your brow checklist with Age Gracefully with the Power of Touch facial massage guide. For a deeper, research-based look at how facial structure changes over time, the National Library of Medicine (PMC) is a helpful starting point for peer-reviewed overviews on anatomy and aging.
For an additional printable that supports a simple, preventative approach, The Checklist to Stop Fine Lines Before They Start fits neatly into the same “repeatable steps” mindset.
Yes. It’s structured as a step-by-step checklist that emphasizes light pressure, gradual building, and blending—using common brow tools and a simple routine flow.
Print the checklist if you want it next to your mirror for fast, no-phone mornings. If you prefer digital, save it to your phone or tablet for quick reference, and keep a clean copy you can duplicate if you like to mark steps with a pen or highlighter.
Soft brows focus on diffused edges, gentle contrast, and a naturally faded front. Bold or laminated styles typically use stronger outlining and more intense hold, while soft brows rely on lighter gel application and more blending.











Leave a comment